Receive all updates via Facebook. Just Click the Like Button Below

Powered By | Blog Gadgets Via Blogger Widgets

Wednesday, April 27, 2011

Pretty Bows

These bows are very easy to make and you can use them for a multitude of different things.  You may ask, Shelby, what multitude of things can I use them for?  I would answer: Cupcakes, cakes, cookies, pretty much anything edible...or inedible (I can't think of any ideas for inedible right now, but I'm sure I could come up with a few).

Step #1 is to make your fondant.  As always I use MMF (check out April 2011, Birthdays Bring Out My Best for the link). 

Step #2 is roll it out to 1/8 of an inch.  (I made mine thicker so you can see it more easily)


Step #3 cut the fondant the width you want for your bow. Use a metal straight edge and a sharp blade.


Step #4 fold the fondant strips to the size bow you want and cut off the excess.  Press the piece together.


Step #5 take another strip and wrap it around the bow.  Press the ends together.


At this point you can leave the extra on (good for putting into a cupcake) or cutting it off (cakes and cookies).

And there you have it...a fondant bow.  Let me know how yours turn out!

Sunday, April 24, 2011

The Sun Will Come Out....Tomorrow?

I don't know what the weather is like where you are, but here in Pittsburgh we have had about a month of steady rain.  I keep hoping to get outside and get some yard work done, pull out the summer toys for the girls, and set up the patio furniture.  But alas, it is not to be.  Here I sit, on Easter morning, listening to the rain...again.

It got me thinking about the craft I did for the preschool class this year.  This is an awesome craft for any holiday (or random day, for that matter).  I will name it "Easiest Suncatcher Ever".

Supplies:
Clear contact paper (or any that you can kind of see through)
Tissue paper (or any paper or plastic you can kind of see through)
       *I have used so many different things, including easter "grass"
       ...use what you have
String or Ribbon
Scissors

This is what I had on hand.
Cut the contact paper into managable sizes.  You will need two pieces for each suncatcher.


Cut or rip your tissue paper (or whatever you are using) into small pieces.  I would make sure the largest pieces are no larger than a half inch.


Remove backing from one piece of contact paper and lay the sticky side down onto your pile of cut paper.  Turn it over and pull off any excess (this will help the two pieces stck to each other).  Remove backing from the other piece of contact paper and place it on top.  Make sure to press the two pieces together well.  Then  you can draw whatever shape you want to cut out onto the contact paper.

I made an Easter egg.
Cut it out, punch a hole it the top, and attach ribbon or string to hang it with.  I did this with my daughter's preschool class (4 and 5 year olds) and they could do all of the steps except the hole punching.  They are super fun and make great gifts!!!!

Happy Easter everyone!

Wednesday, April 20, 2011

I Don't Just Bake

At my daughter's 5th birthday party the other day my Uncle Bill asked me about the cornhole boards I made last summer.  Right now they are up in the attic for the winter.  I was explaining to him how to make them and how much fun it was and I thought, "I should put this on my blog...people are probably sick of the party stuff right now, anyway".  This is a good project for this time of the year because then you have them ready for that first BBQ.

A great reference for this project is http://www.cornholehowto.com/ , I used it almost exclusively.  It has the most easy to follow instructions and pictures.

Here is the materials/supplies list. 
  • 1/2″ thick sheet of plywood – one 4’x4′ or two 2’x4’s
  • 8′ long 2×4’s (4)
  • 4 1/2″ long 3/8″ diameter carriage bolts (4)
  • 3/8″ flat washers (4)
  • 3/8″ wing nuts (4)
  • 2 1/2″ wood screws (1 box)
  • wood putty
  • measuring tape
  • clamps (optional but very handy)
  • power drill and assorted bits (up to a 3/8” bit in size)
  • sandpaper (course, medium, and fine grit or at least medium)
  • hammer
  • compass (optional)
  • jigsaw
  • handsaw, mitre saw, or circular saw
I used a birch plywood that was already 2'x4'.  This really helped me cut down on puttying, sanding and finishing.  It was really worth the extra money.

You cut your 2x4's to these lengths:
  • 4 feet (4)
  • 21 inches (4)
  • 16 inches (4)
Use these to make the frame.  Your plywood will be attached to the top.  Pre-drill all of your holes to prevent splitting.  You need to counter-sink the holes in your plywood so you can putty them later to have a completely smooth surface.


I had my kids do all of the puttying. 
This way you can save your energy for the sanding.
(Note, next time have the kids sand, too!)
  

I confess that I had my husband cut out the circles. 
He is an engineer and I knew he would make sure they were perfect. 


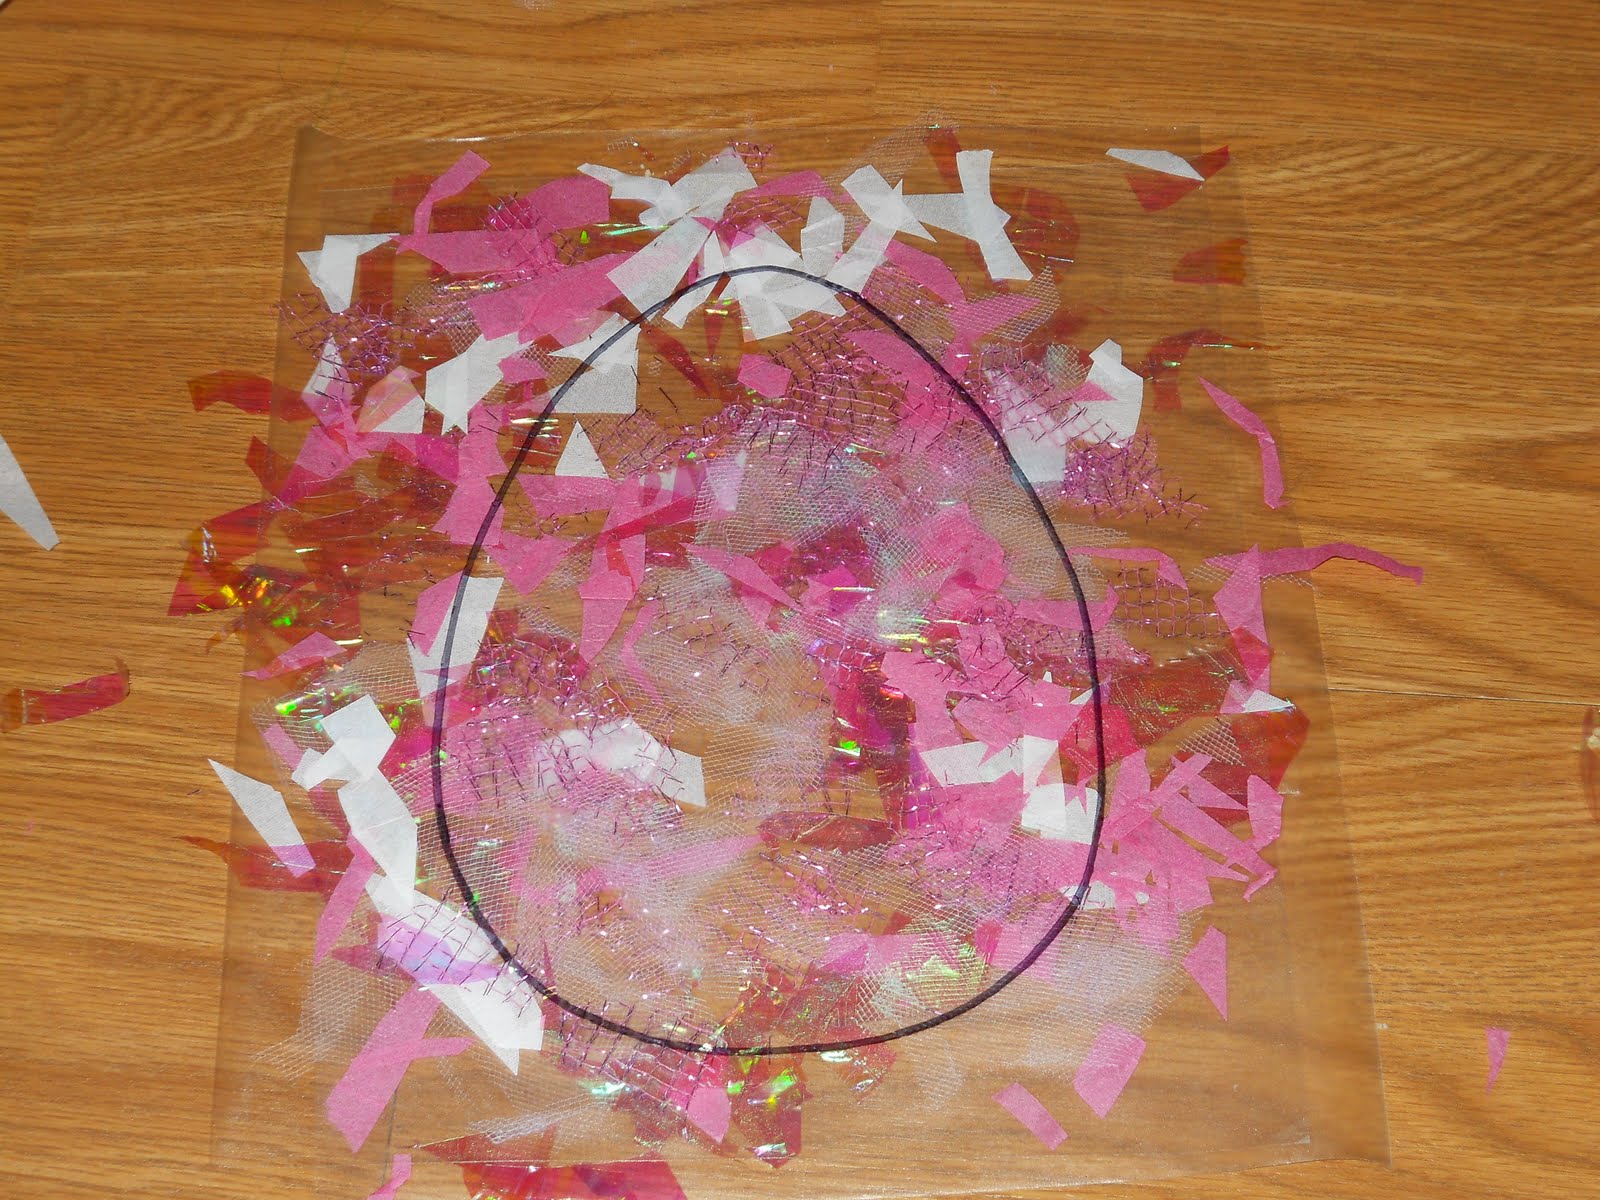
I had the kids decorate the inside of the boards. 
I hope to give them to the girls for tailgating when they are older. 


I think they did an awesome job. 
It makes such a difference when you can capture a moment in time like that.

Next...PAINTING!!!
We painted the boards with a white primer first.  I used a high quality exterior latex.  I wanted to make sure these last for a long time and so I didn't want to skimp on the paint.  Now, you will notice that my boards have a very specific theme.  You can add your own, or leave them plain.  You can also order decals.  I found an awesome website where you can design your own.  http://www.goseegraphics.com/ (disclaimer: I have not actually purchased from this site...I just thought it was a cool idea).


Oh, and by we, I meant "the girls".
They really rocked it. 
They did such a good job, in fact, that I put them on color duty, too.


I made my own stencils out of clear contact paper.  After painting and letting it dry I cut around the stencil with a blade to insure that it pulled up cleanly.

It was a multi-step process.


The finished product.  I put two coats of clear polyurethane on...I want to put two or three more on before football season starts.
I know these instructions are not complete, but you can get the main idea.  They were sooo much fun to make and my kids had a blast.  I can't wait to put them to work with the poly this summer!  Ha!

Tuesday, April 19, 2011

Cupcakes are SOOO Trendy

I promised cupcakes and here they are. I love the idea of a decorated cupcake...they are just sooo cute.  I'm not positive it is scientifically proven, but I'm pretty sure they have 50% less fat and calories than cake.  Pretty sure. 

These are strawberry cake with vanilla buttercream icing and marshmallow fondant ears and bows.

So, I did that big swirl of buttercream on top that you see on all of those cooking shows.  At least I tried, and that is all that matters.  I convienently decorated them to cover up any "mishaps".  Then I added all of the white buttercream dots.  Looking back I think it would've been more cute (cuter?, super cute?, the cutest?) to make the dots in white fondant.  I will try that next time.


Do you remember all of those black circles I made?  Most of those became cupcake ears.  I tried to just stick them into the buttercream and that totally didn't work, so I put toothpicks into the circles.


Then I stuck them into the cupcake. 
They looked even better than I thought they would.


Ohh, last but not least, they all got a bow.  I made the bows so they had a tab on the back (check out my last blog if you want to see a picture).  I stuck the tab into the buttercream.  This is one idea that I had that worked perfectly.

Ta-da!


Saturday, April 16, 2011

The End of the Polka Dots

When I am trying something new I do a lot of research first.  For this cake I needed to learn how to add ribbon to the cake.  I looked it up and there are multiple ways to do it.  I thought using a pin was the best way.  I just wrapped the ribbon around the cake, cut it to fit and stuck the pin through the ribbon and into the cake.  It was so easy I should have tried it sooner.


Super Close-Up

I put a small bead border between the two tiers.  I just used some leftover buttercream.

Finishing touch was the ears.  Seriously this is one of my favorite cakes ever.
 

Let me know what you think. 
See those cupcakes?  I'll tell you how to make those next time.

Thursday, April 14, 2011

Polka Dot Frenzy "The Beginning"

The cake seemed so simple.  I was very, very wrong.  Now, it wasn't as complicated as the Alice in Wonderland cake from last year, but WOW...it was close.

Where to start? 
First I made the cakes...two 8 inch round and two 6 inch round.  I level off all of the cakes and then let them sit out for a while until they are completely cool and the outside no longer feels moist (FYI, I really don't like the word moist, but I can't think of a better one).  Then I add my filling, this one has a strawberry filling, and put the two cakes together.  My next step is to crumb coat the cakes with a layer of buttercream (this is a very thin coat of icing to keep it from making crumbs). Makes sense, right?  Then into the fridge it goes.

Now I make my fondant (MMF) in all of the colors I need.  For this cake I needed Black, Hot Pink and White.  When I am done I pull out the cakes and add another thin layer of buttercream.  I roll out my fondant to about 1/8 of an inch and carefully place it over the cake and smooth it out, cutting off the excess.  This sounds so easy, but I have really screwed this up more times than I want to admit.

 Here is what the cake looked like at this point.


I threw some buttercream on top of the bottom (white) layer and put the top on.


Then I made a crapload (official cake making terminology) of black circles
...they have multiple uses in this project.


I used white buttercream that I thickened up with powdered sugar
to attach the dots to the cake.

Now onto the bows.  I need one large white one for the top of the cake, little pink ones for the Minnie's on the side of the cake and little white ones for the cupcakes.  I did mention that I was also making cupcakes, right?


I will go into the making of the bows at a later date, but I do recommend having parchment paper handy to dry your fondant on.

Oh, and I made little pink dots to put on the big white bow, too.
I put all of this onto the cake using hot pink buttercream.


Then I took a much needed break.  Seriously. 


Wednesday, April 13, 2011

By Popular Demand

So everyone seems to want to see my other cakes.  I was going to put them on later, but what the heck, I'll give into peer pressure.

Here we go...
 4th Birthday "Alice in Wonderland" Cake


Baby Shower Cake


Hello Kitty

My MIL's 60th Birthday


My FIL's 60th Birthday


7th Birthday "Fairies in Pixie Hollow" Cake


Another Hello Kitty

If you have any questions about the cakes please ask!!  I would love to answer your questions.

Tuesday, April 12, 2011

Birthdays bring out my best

Nothing makes me want to try something new like a birthday party.

My child: Mommy, I want balloon animals at my party.
Mommy: Sure.  I will learn how to do those lickty split.

My other child: Mommy, I want this super awesome topsy-turvy fondant cake for my birthday.
Mommy:  No problem.  I will learn how to make fondant and take a couple of engineering classes.

My almost 5 year old thinks I can do anything (she is very close to the truth) and always comes up with some crazy new thing that she wants.  This year she wants a Minnie Mouse Masquerade party.  She came up with the idea after seeing this cake while I was researching cakes for someone else.
Of course I think, "I can totally do this and it will be amazing and everyone will ohhh and ahhh when they see it, and oh, matching cupcakes are a must."
She decides she wants red velvet cake and my first thought is gees oh man, white fondant is NEVER going to cover that.  Crap.  I talk her down to strawberry.

I make all of my fondant from scratch.  I use marshmallow fondant (MMF) because it tastes good and the kids love it.  I use this recipe replacing the water with clear vanilla extract http://www.wilton.com/recipe/Rolled-Marshmallow-Fondant .   You can use any flavor you want but almond and orange taste really good, too. 

I also make my own buttercream.  I can adjust the consistency depending on what I need it for.  It is SUPER cheap to make and SUPER expensive to buy.  Wilton has an ok basic buttercream recipe.  I suggest playing around and coming up with your own.  I have to say mine is really yummy.  ;)

I plan on trying some new things with this cake that I haven't done before (like the bow).  Wish me luck.

Sunday, April 10, 2011

First Blog Ever...Success

So I have been talking about this for a while and finally decided to just go for it. 

There are TONS of things that I like to do.  I am craft crazy.  I am always looking for something that I can make instead of buy.  Not only is it cost effective, but it gives me a sense of accomplishment.  I think, "I am super awesome...I totally figured this out."

People are always asking me where I come up with my ideas and I am going to share my secret with you.  EVERYWHERE!!!  Most people look at an item and only see what it is.  I look at it and think of all of the things that it could be.

I also do lots of research.  My computer is my most helpful crafting tool.  I find something I like and then I try to make it.  Emphasis on the word TRY.  I mess up quite a bit, but I can be really successful, too.  I plan on sharing both with you so you can learn along with me.  Sounds fun...right?

So here is my first how to...
I first found these online, and since have seen them in some stores, but you still have to fluff them up.  They are soooo easy to make and you can make them in any color you need.

1. It takes about 20 sheets of tissue paper to make a really full one, but you can use whatever you have.  You can make them in multiple sizes for more impact.
2. Take your tissue and cut the ends into scallops.  It doesn't have to be perfect.
3. Fan fold the tissue.  You want the tissue to be about an inch wide.
4. Tie a ribbon or string tightly in the middle of the tissue.
5. Taking your time slowly pull the tissue toward the center one sheet at a time.  The tissue will tear easily, so be careful, but I just rip the whole sheet out if I tear it.


There you go.  These are so much fun to make and the kids really love to help.  They are a big decorating hit with party guests.