Receive all updates via Facebook. Just Click the Like Button Below

Powered By | Blog Gadgets Via Blogger Widgets

Friday, May 27, 2011

It's Now or Never

Soooo, this week has been really exciting.  I have been getting such an amazing response to my cakes I decided to just go for it and make it a business.  This is something I know very little about and I just jumped in with two feet.  I won't lie...that is normally how I do things anyway.

I have been making custom cakes for over a year now and they are so much fun.  If you want to see some of my work I have it on here under "By Popular Demand".  If you want to keep up with my more current work check out my Facebook page at :
http://www.facebook.com/CrazyCreativeShelby
 
This was a big step for me.  After I set up the FB page I had a mini panic attack and had to call my husband to calm me down.  The conversation went like this....

Me: Do you think I can do this?
Kevin: I think you can do this.
Me: But do you REALLY think I can do this?
Kevin: I REALLY think you can do this.
Me:  What if I can't do this?
Kevin:  You can do this.
Me:  So, you think I can do this?
Kevin: (sigh)  Yes, you can do this...Can I get back to work now?

He is a man of few words, but I did feel a lot better.  ;)

Here are a few examples of the orders I have been working on:
Curious George

Max and Ruby


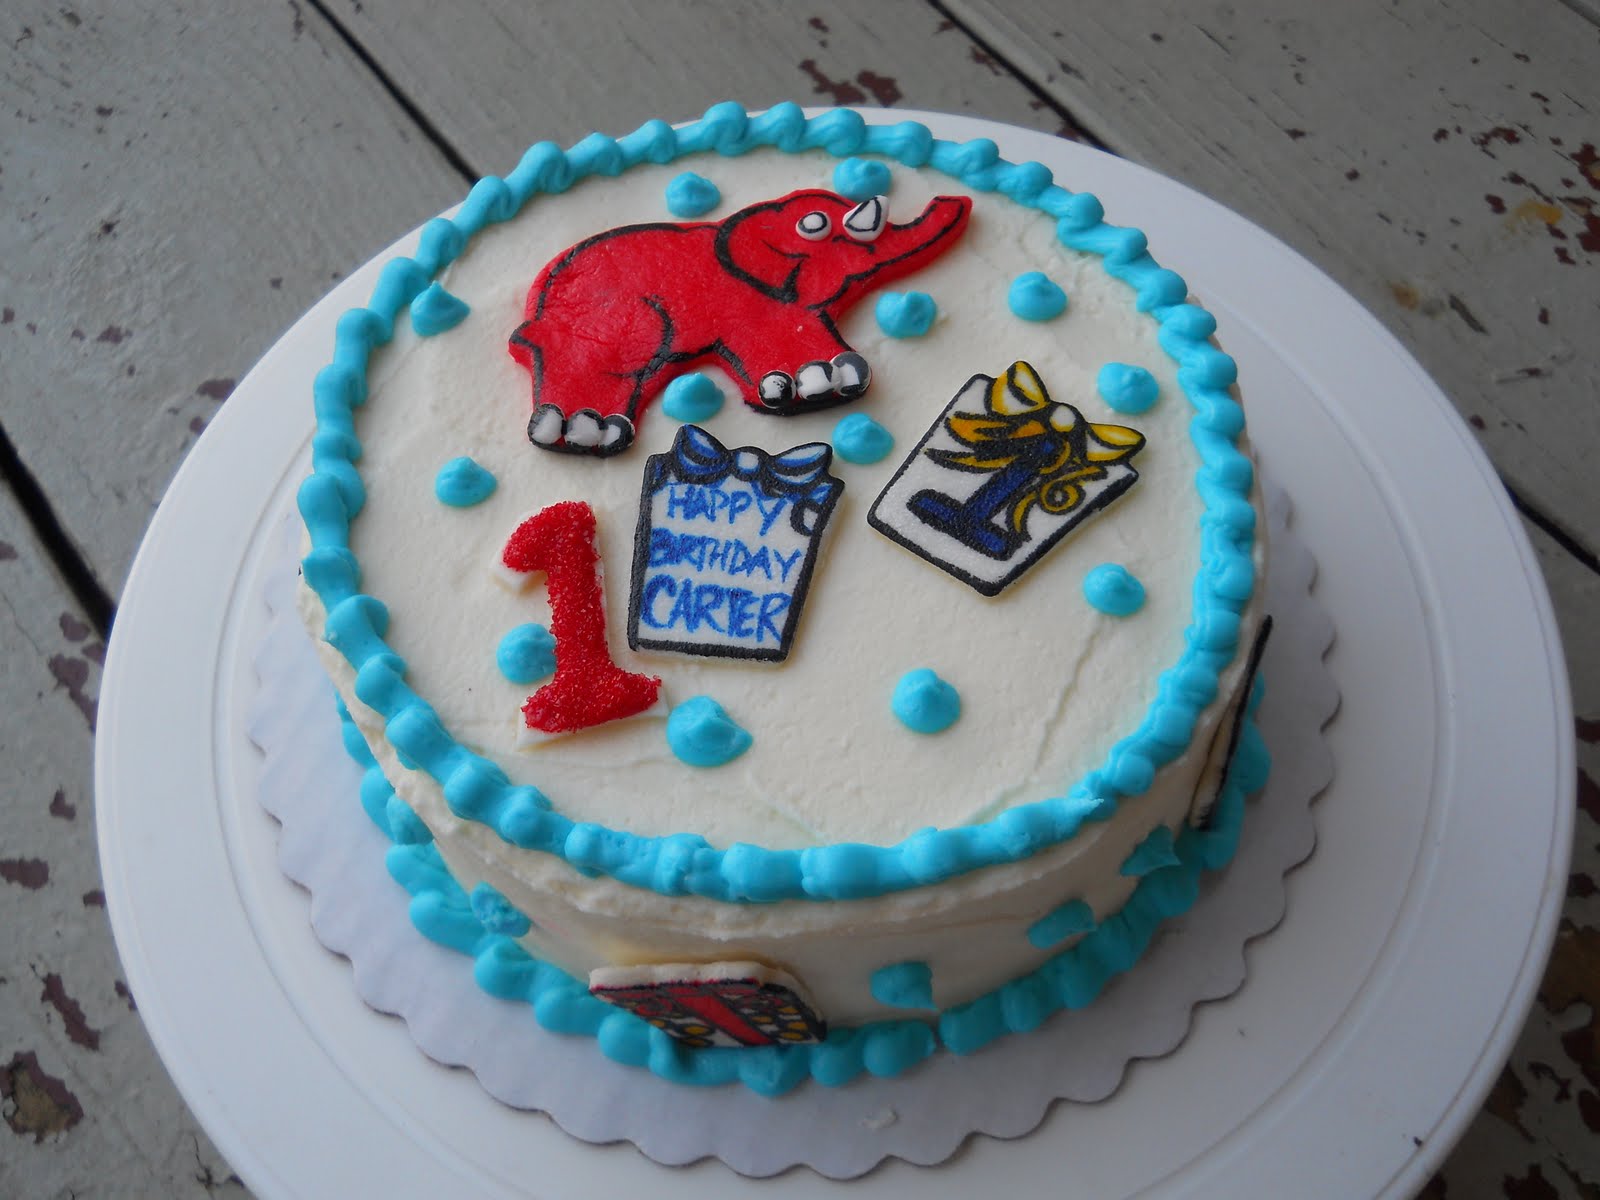
As you can see I had a smash cake to go with the Max and Ruby cake!  Happy 1st Birthday Carter!

I also have my "Little Blue Box" bridal shower cupcakes due on Sunday...better get to work!

Friday, May 20, 2011

Easy Fondant Flowers

With the amazing interest in my cakes and the requests for classes and demonstrations I thought I would take a couple of blogs and give you some easy ideas to try out on your own.  I am going to start with some really easy flowers.  These seriously take almost no skill and in a couple of hours (or less) you can make an entire bouquet.  You can easily place these on top of a cake iced in buttercream and impress all of your friends with your new found fondant skills!

As always, I use MMF (http://www.wilton.com/recipe/Rolled-Marshmallow-Fondant).  As mentioned previously, I use clear vanilla extract instead of water...yummmmm. 
You can make these flowers just about any size.  Start by rolling a ball of fondant about twice the size of the flower that you want.  Using your fingers flatten out the fondant into a long oval shape.

 Roll the fondant lengthwise.


If you want you can cut off the bottom depending on what you are planning to do with it.  I kept it on the ones I used in the bouquet on top but cut it off on the ones I added to the sides.

Making them in multiple sizes will add to the visual interest.  I tried to make three sizes...Large, medium and small.  I used the smallest ones as "filler" after placing the large and medium flowers. 
I made the leaves by rolling a ball, squeezing it flat and then pinching one end into a point.  The vines I simply rolled into "snakes" and placed them directly onto the cake.  I will teach the twisty vines later (they add lots of impact and look spectacular on a cake).

The finished product.  This was a gift to my youngest daughter's preschool teachers.
What do you think?  Is this something you can try on your own?  Who is going to try it? 

Sunday, May 15, 2011

Begging for Bags

So, I was super excited to try the recycled plastic bag tote.  
Thanks to everyone who has voted...keep voting to pick my next project!


I saw the picture of the bag (see "Not so Lazy Days of Summer") and I thought it was a really awesome idea.  This is a way to recycle and have a fun craft to make. Let me start by telling you I TOTALLY underestimated the number of bags that I would need to complete this project.  Needless to say, I am not finished yet.  Let me show you what I have so far so if you want your own you can start saving your bags right away!

Lay bag out flat
Fold the bag in half.
And then in half again.
Cut off ends and cut it into strips.
This is where I ran into some problems.  Not all plastic bags are created equal.  The thinner the bag, the thicker the strips need to be.  If you cut heavy bags too thick they will not crochet easily.  I tried to use the same weight bags but I did need to play around with it quite a bit before I was happy with my final product.

So now you should have a ton of strips cut. You want to connect them together so you are crocheting a double width of plastic.  This will keep the plastic from tearing apart.  

 Pull together and repeat a gazillion times.  Remember not to pull too hard.  
Make sure your strips pull flat and even, this will keep problems from happening later.

Roll into a plastic "yarn" ball.

You can use almost any crochet pattern. 
I made two balls of "yarn".  One in red and white and one in shades of blue.  I started with the red and white and chained 25 using a Q hook.  I then single crocheted in the second chain and continued all the way around (on both sides).  I did not stop, but continued in a spiral around and around.  I added in two rows of blue by simply cutting the plastic and tying the ends.  I then attached the blue to the red and then back again.

So far so good.  As of right now bag is 18" wide and 9" high.
This is as far as I have gotten.  I plan on visiting my favorite "red and white bag" store later on this week and asking if I can have some of their recycled bags.  Cross your fingers that they will share.  What do you think?

Sunday, May 8, 2011

Not So Lazy Days of Summer


Creative Crayons

Happy Mother's Day everyone!  I would love to say that I got all of my crazy creative skills from my mom, but she would laugh hysterically if she read that...we both know I didn't.  My mom is super awesome at a lot of things and she was always very supportive of my crazy creative ways.  Love you, Mom (and happy early birthday!).

One thing I did get from my mom is my planning skills.  I have been looking for some great summer projects that I want to do this year.  I have come up with lots of fun ideas and I thought I should share them with you.  Check out the poll and vote for the projects you would like to see me do this summer!  I need your help.  I don't know where to start!
 
Hanging Picture Gallery


Paper Plate Hanging Decorations
 

Beach Tote
(crocheted from plastic bags)
.
Drink Umbrella Door Wreath
 
PVC Pipe Picture Frame
(It would look cute in the hanging
gallery, don't you think?)

I am loving all of these ideas and this isn't even all of them (I didn't want to overwhelm you).  I hope I get to try these all out this summer.  I also want to landscape my front yard, build a porch swing and extend my deck.  Oh, and did I mention put in a patio in my backyard?  And make a hammock?  And make some flowerboxes for my fence?  Good thing we already put in the vegetable garden, or I may feel like I was already running behind.  ;)


Tuesday, May 3, 2011

It's All In The Preparation

I am a planner. I am one of the people who make list of my lists.  When I have a new project I first do some online research.  I make a folder of all the ideas I like.  Then I sketch out what I want to do...normally a combination of ideas I have found.

Here is an example:
Ideas I Liked

My Sketch

Finished Product

It turned out better than I expected.  The gymnasts were the most difficult part.  I definitely wanted them on top of the cake, but the execution was tricky.  I thought I had finished it, but my daughter told me it needed more "bling".  So, I spent a couple of hours adding all of the silver beading (edible...not real beads).

Here are some other sketches I have done:

                       Minnie Mouse Cupcakes               Ambulance Cake


                                Baby Shower Cake             Alice in Wonderland Cake

Bridal Shower Cupcakes (coming soon)

As you can see, the sketches don't always look exactly like the finished product.  Sometimes I come up with new ideas as I am working and sometimes I can't figure out how to make some of my ideas work.  I always enjoy the entire process, though!